Monday, August 27, 2018

Monday Quick Cards

Happy Monday, where we're bringing back the excitement for Mondays. Or at least trying to make them less painful.

Today's quick card was on the high end of my 20 minutes or less, but I did fussy cut those fish, at 19:03. This card was for the husband's birthday and quite fitting as he's getting up there in years. I, on the other hand, am still in my twenties. 


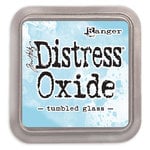
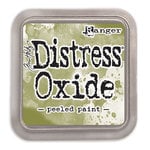
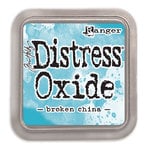
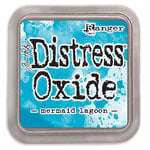
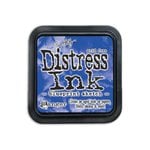
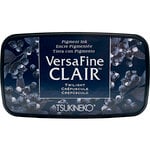
I used Sea Life, a Tim Holtz stamp set and created a fun oxide smooshed, watery background. It's one of my favorite techniques. I used the midnight Versafine Clair ink instead of black, to go with the under the sea theme.


And let's begin!


The smooshing is dead easy and makes such a statement. I used the brand new Tumbled Glass for my base color. I tried to fill most of my paper with this color, drying before adding new colors.


I didn't want to completely overpower the lighter color, so I used less ink the darker I got.


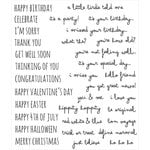
After popping up my fish, on my watery base and adding a sentiment, I added bubbles with Nuvo Drops and added distress ink around the edges. I like the definition this step adds.


The ink smooshing makes for a wow background in no time and a technique I pull out often. I even had time to do that fussy cutting!

Affiliate links (I do receive a small commission when you use my links, thank you!)


Monday, August 20, 2018

Monday Quick Cards

Happy Monday and welcome to a new Monday Quick Cards installment; highlighting cards made in under 20 minutes for those "I need a card now!" moments.

Today's card that took me 10 minutes, 11 seconds, from start to finish, including cutting of the paper and choosing inks. A silhouette card is a great way to make a quick card, there is no fussing with coloring an image, just ink and stamp, stamp, repeat. Hollyhocks, by Unity Stamp Co is the perfect stamp to use!


I used Versafine Claire Morning Mist and Nocturne. I started with Morning Mist (grey), inked up my stamp, stamped it out on scratch paper and then on my background, for the lighter version. I just kept ghost stamping until it ran out of transferable ink. I then gave it two quick pops of Nocturne (black) for the foreground flowers. A simple sentiment, a scattering of enamel dots, and matting on black card stock was all it needed for completion.

Affiliate links (using my links gives me a small compensation, thank you!)


Monday, August 13, 2018

Monday Quck Cards

Welcome back to another installment of Monday Quick Cards. That feature that helps you come up with cards in 20 minutes or less.

Today I am using Coral Charm, buy Altenew. Coral Charm is part of their Build A Flower series and I just love them. I love that they come with dies too! I decided to use my Distress Oxides for my ink, topped off with Versafine Clair Nocturnal. Some Nuvo Drops finished things off nicely.


I stamped my flowers in various red Distress Oxide colors, then used Versafine Clair Nocturnal for the outlines. I cut them out, using the die, placed them on my paper, popping up the flower in the foreground. Next I inked up the leaves, cut them out and placed them amongst the flowers. I can tell you that I am a big fan of the Crushed Olive Oxide ink! It pairs well with Peeled Paint.

Affiliate links (I do receive a small compensation when you use my links, thank you!)

Monday, August 6, 2018

Monday Quick Cards

Good morning and welcome to a new week and a new feature I'm adding to the blog; Monday Quick Cards. My plan is to highlight cards made in under 20 minutes for those "I need a card now!" moments.

My first card took me a total of 12 minutes, 24 seconds. That's start to finish, including cutting the paper and choosing my inks. And used Every Single Day, the July 2018 Sentiment Kit, by Unity Stamp Co.


I used selective ink smooshing here and it works great for that quick card. There's no need to be exact or add shading or fussing with the colors, just smoosh and move on. I like the fun, carefree look it gives too; sort of wildflower like.

Selective smooshing is quick and easy. Begin by stamping your image and sentiment onto watercolor paper. Continue by pressing some distress ink on your mat, then spray with some water.


I used a little piece of plastic packaging from some craft supply or another to dab into the ink, then onto my stamped image. Repeat with until satisfied with the coverage and with the other colors.


Final step was to mat onto a base that pulled one of my colors out from the flower palette, but your could not mat at all or mat on black or white. A simple, yet colorful card is ready to go for that last minute event you need to attend.