Monday, February 26, 2018

Reverse Stencil Technique

Good morning, I have a fun tutorial for you today. I love my Tim Holtz layering stencils. They are a quick, fun way to add some pizzaz to either your cards or a layout. One of my favorite ways to use them is in the reverse; adding ink TO the stencil rather than THROUGH the stencil. I'll show you how to get this cool, watery look.

Stamps are Unity Stamp Co's Lucky To Go
 
Unity Stamp Co stamps used No Words Bloom and Thanks Above And Beyond


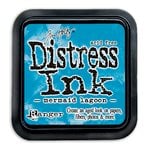
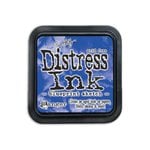
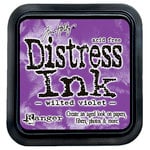
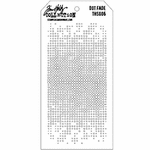
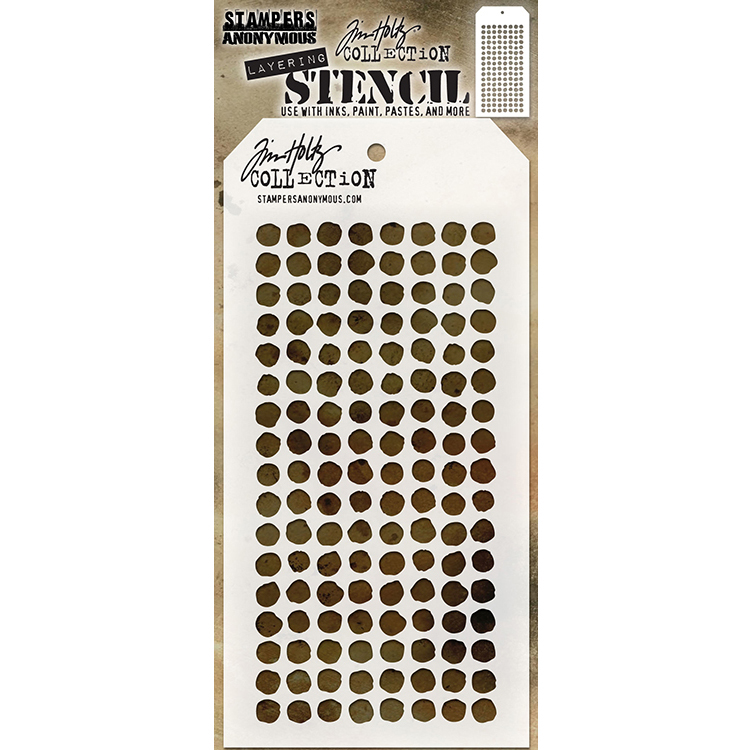
Firstly gather your watercolor paper, favorite stencil, some distress inks, water sprayer, and a heat tool. I used Mermaid Lagoon, Blueprint Sketch, and Wilted Violet, along with one of the newest stencils, Dotted.


Ink up the stencil, starting with the lightest color and moving towards the darkest. I wanted a small area, so I didn't ink up the whole thing, but you could. I used a paper towel to create some clean edges on the sides, but let the bottom do its own thing.


 I used a glimmer mist instead of plain water on two of my cards. Love the shimmer it gave.


Turn the stencil over and press down onto your water color paper. I did a little smooshing first to create my ocean on this example.


Some close ups to see the results. 


I also tried using oxide inks on black card stock and it worked great and really makes a striking card. Misting the ink does cause it to "oxidize" thereby muting the color, but I really like how it turned out.


Try some of these fun, reversed stencil backgrounds today!


Affiliate links for products used. I do get a small commission if you use my links, so thank you!


Ranger Ink - Tim Holtz - Distress Oxides Ink Pads - Shaded Lilac  http://www.shareasale.com/r.cfm?u=1555412&b=33086&m=7429&afftrack=&urllink=www.scrapbook.com%2Fstore%2Fsta-ths100.html

Wednesday, February 21, 2018

Distressed Background With Distress Resist Spray, By Ranger


You guys, this new Distress Resist Spray, by everyone's favorite, Tim Holtz, is awesome! It's simple to use; just spray a bit on your project base, then do your magic with inks and oxides. It leaves a wonderful texture (you can feel it) and I love the bits of white space where it completely resists the ink. 

It paired perfectly with this stamp Slowly Turning Classic, by Unity Stamp Co. The red really pops against the grungy background. 

Stay tuned for a tutorial using this amazing product.

Affiliate links for products used:

Ranger Ink - Tim Holtz - Distress Resist Spray - 2 Ounces


Tuesday, February 20, 2018

Cling Wrap Background With Oxide Inks


I recently saw a tutorial on creating cool backgrounds using distress and oxide inks, so I thought I would bring the technique to you! 


I used Oxide Inks, found in the new 2018 bundle. They are so pretty, I love them all!


Lay out a piece of cling wrap and begin adding inks, starting with the lightest color first. Spray with water to get the ink nice and loose, but not so much that you make mud.


Lay your watercolor paper on top of the ink pool.


Gather the edges of the wrap so that the ink is nicely encased in the front of the card. 


You want to set it aside until dry (about an hour). Don't use a heat gun to dry it quicker, it needs to do it's thing so you can get the cool designs created by the plastic wrap.


I decided that mine looked very much like water, so I stamped some bubbles, using a texture stamp by Unity Stamp Co and adding an octopus. A sentiment, some twine, and sequins finished it off.

Here are a couple more cards that I made, using the same technique. I tuned the space one into a slider card even!


Affiliate Links for products used:


Ranger Ink - Tim Holtz - Distress Oxides Ink Pad Kit - Complete 2018 Bundle