 |
| Stamps are Unity Stamp Co's Lucky To Go |
 |
| Unity Stamp Co stamps used No Words Bloom and Thanks Above And Beyond |
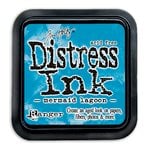
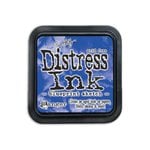
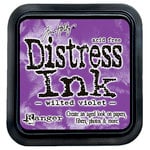
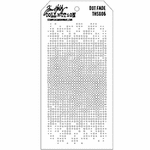
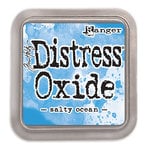
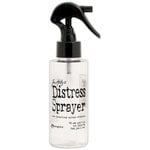
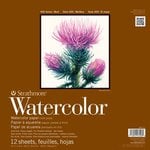
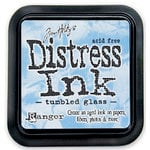
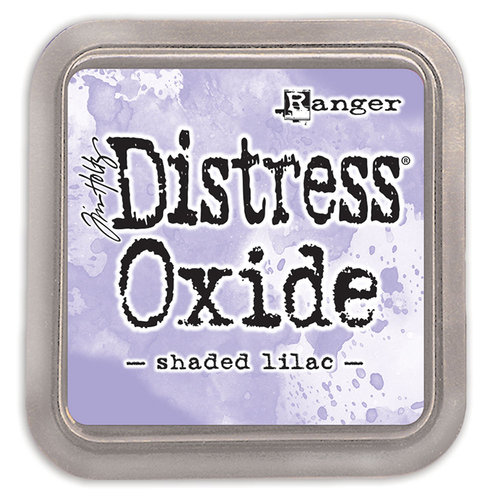
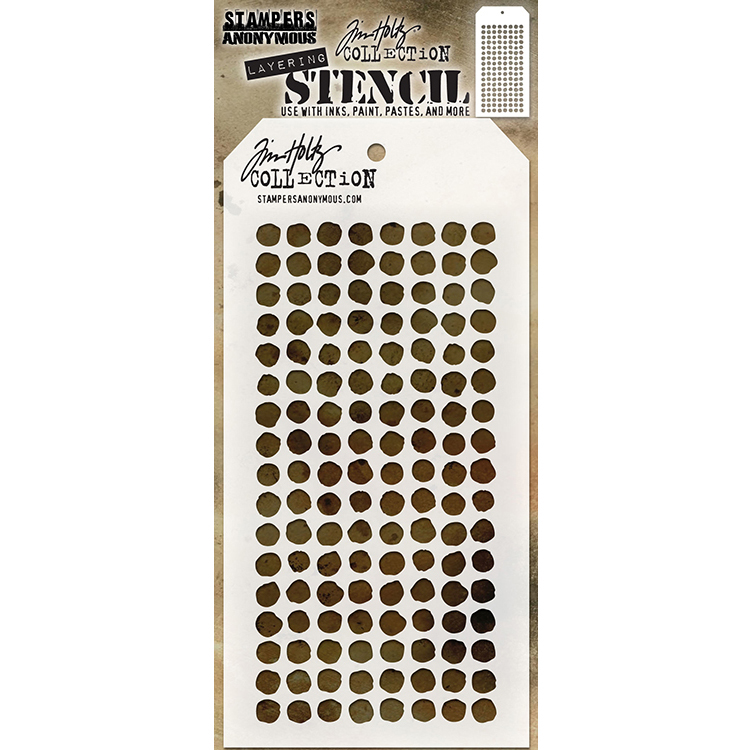
Firstly gather your watercolor paper, favorite stencil, some distress inks, water sprayer, and a heat tool. I used Mermaid Lagoon, Blueprint Sketch, and Wilted Violet, along with one of the newest stencils, Dotted.
Ink up the stencil, starting with the lightest color and moving towards the darkest. I wanted a small area, so I didn't ink up the whole thing, but you could. I used a paper towel to create some clean edges on the sides, but let the bottom do its own thing.
I used a glimmer mist instead of plain water on two of my cards. Love the shimmer it gave.
Turn the stencil over and press down onto your water color paper. I did a little smooshing first to create my ocean on this example.
Some close ups to see the results.
Try some of these fun, reversed stencil backgrounds today!
Affiliate links for products used. I do get a small commission if you use my links, so thank you!



Thanks for sharing Laura! This is a great tutorial...now I just need to buy some stencils and maybe some glimmer mist.😊
ReplyDeleteThanks for the tutorail!! I will try Wednesday!! Day off, so crafty time!!
ReplyDeleteThank you. I’m going to try this.
ReplyDeleteah... so fun!
ReplyDeleteThanks for sharing this fun technique on the Unity Show and Tell page :-) I can't wait to try this!!
ReplyDeleteThank you! I'm going to try this. I love the results!
ReplyDeleteLove this technique! Already CASEd!!!
ReplyDeleteThis is great and looks like it will be fun to try! I love the results!Thanks for the inspiration!
ReplyDeleteGreat technique - thanks for sharing! Love your choice of colors - I really like the black and pink!
ReplyDeleteThis is great!!! I will have to try this tonight!!
ReplyDeleteYour cards are fabulous with this technique.
ReplyDeleteThis reverse stencil a.k.a. Stamping with stencil technique is one of my favorites of creating background.
I need to use my stencils more. Love your tutorials and ideas!
ReplyDelete