


Spring is almost here! The rains are making ready to receive a bounty of colorful flowers. I recently picked up the newest Tim Holtz layering stencils and the Dashes stencil looked like falling rain. I am going to show you how to make a rainy day background today.

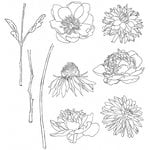
I used the Tim Holtz Flower Garden for this card, as well as Blueprint Sketch and Mermaid Lagoon Oxides.


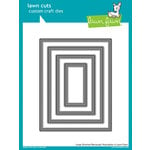
Fill the stitch die cut base with flower assortment of choice, masking off flowers as you create a bunch.

With the masks still in place, lay down first color of Oxides. I used Blueprint Sketch first. The Misti magnets come in handy to hold my stencil in place on top of my magnetic board.

Offset the stencil slightly, then add the second color, Mermaid Lagoon in this case.

I found the lines to be rather harsh, so I decided to spritz with water. It gave it that awesome watery look, that one would expect to find on a rainy day.

Dry immediately so it doesn't run too much, losing the lines.

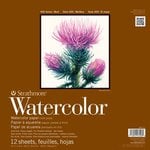
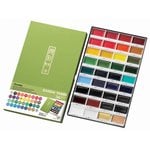
Remove masks and color/paint in your favorite way. I used Gansai Tambi paints. I love the vibrancy and the color pop.

I added clear sequins to mimic water drops, added some twine and a sentiment. This sentiment came from Unity Stamp Co and I thought fit for someone going through a hard time.
Affiliate Links for products used:


Gorgeous. I really like those Tim holtz flowers too! Great tutorial.
ReplyDelete