Showing posts with label Mixed Media. Show all posts

Friday, January 31, 2020

Unity GIU, Day Five: 1 Stamp, 5 Projects: Art Journal

And so it has come, my last day as your GIU gal for Unity Stamp Co. It's been a great week and I hope I have shown you that your stamps can be used for more than just card making. 

To finish off my week I have decided to get whimsical and colorful spread for my art journal. An art journal is a fabulous place to play around, try out new techniques, and just create for the fun of it. I decided to go all rainbow. I saw a cute meme on Facebook the other day and it inspired this page. The Cuddlebug Zebra is the star, with a guest appearance by the cloud from Sending Up Something Beautiful Be sure to see how it was made by viewing the video below.


Cuddlebug Zebra

Sending Up Something Beautiful

Thanks for joining me this week. I hope I was able to show you how to stretch your stamp stash to use in a variety of project formats. Be sure to leave comments on all the days so that you have a better chance at winning one of the prizes! Until next time, happy stamping!


Wednesday, January 29, 2020

Unity GIU Day Three: 1 Stamp, 5 Projects: Canvas

Welcome back to day three of my GIU week. I'm exploring different ways to use our stamps by showing a variety of projects.

Today the cute lil zebra will be starring in a canvas. I have a little display of wooden animals that I bought back from Africa and this canvas fits right in. The sunsets there are seriously amazing. I think it's all the dust in the air, so I made my background to reflect the amazing sunset. Yes, my burlap is back, this time as a stand in for grass. Be sure to watch the video to see how this came together.


Cuddlebug Zebra


Be sure to tune in tomorrow for my next project, showing you how to stretch your stamps in so many ways. Be sure to leave a comment each day so you can have a chance to win one of the prizes! Until tomorrow, happy stamping!


Saturday, December 7, 2019

Stamping Gifts

Happy December! It's the season of giving and what better gift to give than one made with your own hands? I love giving and receiving handmade gifts. I like to think about my recipient as a create a little something special just for them. If you also love to give your heart in a gift, this is the challenge for you!

I have been giving handmade ornaments with the Christmas cards, to my co-workers, for years. When I saw the new wood slice die/embossing folder from Tim Holtz, I knew I wanted to make ornaments. As soon as I saw A Little Mousy, I knew I had found my stamp! This is such a cute kit, very versatile, and was a fairly simple project to make. Cut and ink the wood slices, stamp and color the image, cut out and add to the wood slice. You can see the process in the video below.


A Little Mousy


For this challenge, I task you with making a gift of some sort. It can be a pack of cards, canvas, coaster, jewelry, ornament, the sky is the limit! Bless someone's day with a gift from your heart and hands. The challenge will be open all month, so you have time. Be sure to upload to the Unity Show & Tell group to be in the running for a prize. Until next time, happy stamping!

Thursday, August 8, 2019

One Kit Three Ways - Falling Heart

Unity Stamp Co has a new weekly mini challenge, brought to you by Shannon Edwards. She's challenging us to use one kit in three different ways. I love to do this! It challenges you to think outside the box and shows how versatile the kits can be.
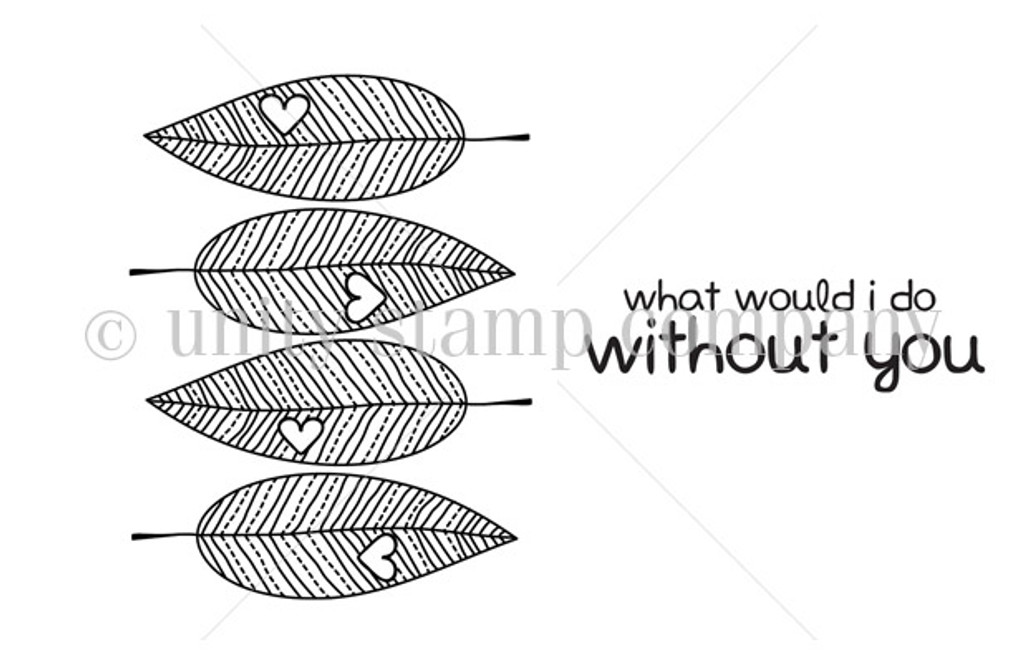
For my entry, I am making it even a bit more challenging by using one of the Itty Bitty stamps Falling Heart. It's long been one of my favorite Itty Bitty stamps. I think it's so pretty no matter how you use it.

My first card used the watercoloring on the stamp technique. I love love love this technique and I think it looks so pretty and delicate on these cute leaves. I used three colors of Distress Ink green, then I stamped the sentiment, from Girl Truly, using the medium green.Glitter Nuvo drops fill the hearts


For my second card, I stamped in black on kraft paper. I love black on kraft, but this time I added some pearly Nuvo drops in the hearts and matted with some green paper for my ode to the leaf. The sentiment is from the Sentiment Kit Good Things With Wings


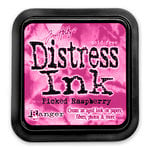
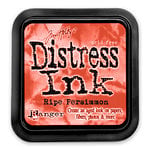
My final card was made by stamping in black on watercolor paper, where I did some ink smooshing with Worn Lipstick, Picked Raspberry, and Ripe Persimmon Distress Ink. I matted onto a doily, then some patterned paper. The hearts are blinged with little clear gems.


Affiliate links:

Falling Heart 

Girl Truly {April 2017 Sentiment Kit}

Good Things with Wings {january 2019 sentiment kit}


Tuesday, May 14, 2019

Alcohol Ink Panel Cards

I spent some time playing with alcohol inks the other day. Oh, man, they are so much fun and I can't wait to explore all you can do with them.

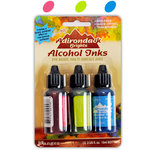
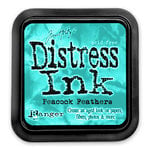
For these cards, I used Sailboat, Citrus, and Indigo alcohol inks, as well as rubbing alcohol and the Ranger Blending Solution. I moved the ink around by blowing into a straw. I love the different pools and whirls this technique makes. Using the Ranger lift pad, I stamped the bubbles using Unity Stamp Co's You Can Do It kit. I cut out two panels and adhered them to a white card base that has Peacock Feathers ink spatters.

This card uses jellyfish from Unity Stamp Co's She Mermaid kit that I stamped, colored, and fussy cut . The sentiment is from Unity Stamp Co's Hugs, Kisses & Birthday Wishes sentiment kit.


For this card I used Stampin' Up's Sea of Textures' octopus and cut the net from the coordinating die set. The sentiment came from one of Stampin' Up's Sale a Bration's sets, By The Bay.


Products used (affiliate links). Thanks for using my links, it really helps!


Thursday, February 28, 2019

Coffee Filter Collaboration

Now and again, I join a group of friends to do a collaboration. Sometimes we do a theme. Other times we have a pile of common supplies. This go around, we decided to use coffee filters, or a tea bag. The sky was the limit, no holds barred. I decided to make a canvas to hang in my kitchen because coffee is life.


I took my coffee stained filter, and whilst I sipped the delicious brew that passed through it, I added even more color with my Distress Inks. I set that aside and grunged up my canvas with more Distress Ink and some stamps. Setting that to one side, I stamped this awesome coffee treat stamp Stay Strong, by Unity Stamp Co. I cut the word from coffee related digi paper by Gracielle Designs. I seriously love this paper pack. I found this cute lil wood veneer to go cup and dark "gems" and finally added a piece of flair from A Flair For Buttons, Hello Coffee. It pretty much sums up have I feel about coffee.

Thanks for having a look and I'll see you next time!

Wednesday, February 21, 2018

Distressed Background With Distress Resist Spray, By Ranger


You guys, this new Distress Resist Spray, by everyone's favorite, Tim Holtz, is awesome! It's simple to use; just spray a bit on your project base, then do your magic with inks and oxides. It leaves a wonderful texture (you can feel it) and I love the bits of white space where it completely resists the ink. 

It paired perfectly with this stamp Slowly Turning Classic, by Unity Stamp Co. The red really pops against the grungy background. 

Stay tuned for a tutorial using this amazing product.

Affiliate links for products used:

Ranger Ink - Tim Holtz - Distress Resist Spray - 2 Ounces


Tuesday, February 20, 2018

Cling Wrap Background With Oxide Inks


I recently saw a tutorial on creating cool backgrounds using distress and oxide inks, so I thought I would bring the technique to you! 


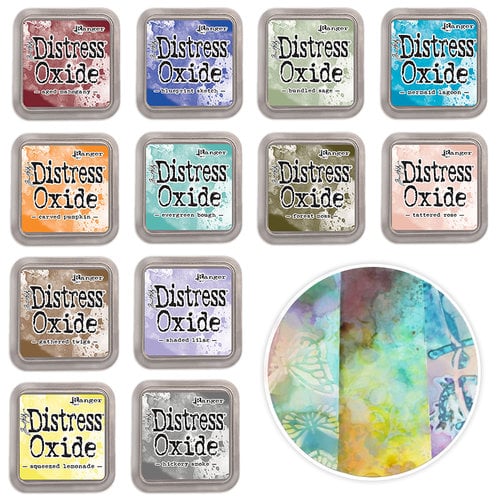
I used Oxide Inks, found in the new 2018 bundle. They are so pretty, I love them all!


Lay out a piece of cling wrap and begin adding inks, starting with the lightest color first. Spray with water to get the ink nice and loose, but not so much that you make mud.


Lay your watercolor paper on top of the ink pool.


Gather the edges of the wrap so that the ink is nicely encased in the front of the card. 


You want to set it aside until dry (about an hour). Don't use a heat gun to dry it quicker, it needs to do it's thing so you can get the cool designs created by the plastic wrap.


I decided that mine looked very much like water, so I stamped some bubbles, using a texture stamp by Unity Stamp Co and adding an octopus. A sentiment, some twine, and sequins finished it off.

Here are a couple more cards that I made, using the same technique. I tuned the space one into a slider card even!


Affiliate Links for products used:


Ranger Ink - Tim Holtz - Distress Oxides Ink Pad Kit - Complete 2018 Bundle