Showing posts with label Tim Holtz. Show all posts

Saturday, December 7, 2019

Stamping Gifts

Happy December! It's the season of giving and what better gift to give than one made with your own hands? I love giving and receiving handmade gifts. I like to think about my recipient as a create a little something special just for them. If you also love to give your heart in a gift, this is the challenge for you!

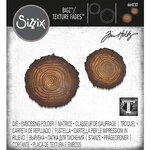
I have been giving handmade ornaments with the Christmas cards, to my co-workers, for years. When I saw the new wood slice die/embossing folder from Tim Holtz, I knew I wanted to make ornaments. As soon as I saw A Little Mousy, I knew I had found my stamp! This is such a cute kit, very versatile, and was a fairly simple project to make. Cut and ink the wood slices, stamp and color the image, cut out and add to the wood slice. You can see the process in the video below.


A Little Mousy


For this challenge, I task you with making a gift of some sort. It can be a pack of cards, canvas, coaster, jewelry, ornament, the sky is the limit! Bless someone's day with a gift from your heart and hands. The challenge will be open all month, so you have time. Be sure to upload to the Unity Show & Tell group to be in the running for a prize. Until next time, happy stamping!

Wednesday, August 14, 2019

Scrapbook.com Exclusive: Sentimentos Espanoles


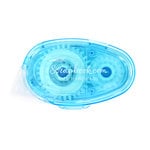
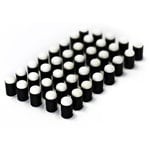
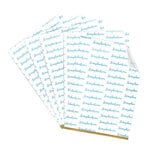
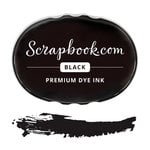
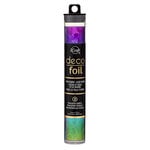
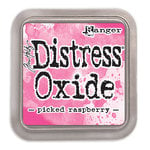
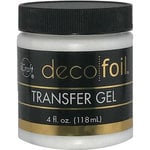
Scrapbook.com recently sent me their new Spanish Sentiment stamp set. I have to say that their polymer stamps sets stamp so well and I love the sayings and font variety. I applied Deco Foil transfer gel though a stencil, then foiled with shattered glass rainbow Deco Foil. I then adhered the foiled piece to my card base using a piece of Scrapbook.com exclusive adhesive sheet. The adhesive is nice and strong and can take the weight of my foiled strip. Then I stamped the Gracias sentiment with Scrapbook.com exclusive black ink, using the small Scrapbook.com  stamp block, which stamped a nice, crisp image. I used a Scrapbook.com exclusive ink dauber to add Picked Raspberry Distress Ink to the edges of my sentiment spot and adhered it to the base with a Scrapbook.com tape runner. Finally, I sprinkled a rainbow of sequins.


Come peruse the awesome line of Scrapbook.com exclusives today. The lineup is growing every month!

Affiliate links:


Tuesday, July 23, 2019

'Tis the Season to be Jolly

It's Christmas in July at Scrapbook.com! Come beat the summer heat and find great deals on supplies for all of your Christmas crafting needs.

Did you know that Scrapbook.com has exclusive supplies, including stamps? I love their Christmas stamp line and had to create a fun, cool alcohol ink card using this large sentiment from Big and Bold. I created an alcohol ink background on Yuppo paper, then used the lift ink pad to stamp my sentiment. Easy peasy and so fun.


The best part is that all Scrapbook.com exclusives are on sale now! And there are gifts given each day.


Until next time, happy crafting!

Affiliate Links:


Sunday, July 21, 2019

GIU Blog Hop

Welcome to the GIU blog hop! I decided to showcase the kit that I picked out as my reward; Enjoy Where You Are. I have had a number of people tell me that I look like the girl in this kit. I love everything else this kit has to offer too. I love these banners; they are going to be great for birthdays and other celebrations. The flowers are amazing too and who doesn't love some good stitched stamps?


Next up in the hop is Joan. Be sure to comment for a chance at winning a giant grab bag of Unity Deeply Etched Red Rubber.

Until next time, happy crafting!

Monday, August 27, 2018

Monday Quick Cards

Happy Monday, where we're bringing back the excitement for Mondays. Or at least trying to make them less painful.

Today's quick card was on the high end of my 20 minutes or less, but I did fussy cut those fish, at 19:03. This card was for the husband's birthday and quite fitting as he's getting up there in years. I, on the other hand, am still in my twenties. 


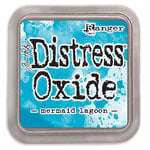
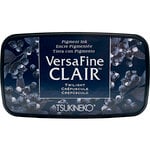
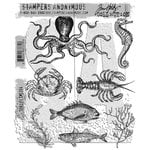
I used Sea Life, a Tim Holtz stamp set and created a fun oxide smooshed, watery background. It's one of my favorite techniques. I used the midnight Versafine Clair ink instead of black, to go with the under the sea theme.


And let's begin!


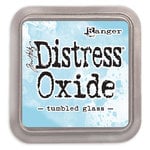
The smooshing is dead easy and makes such a statement. I used the brand new Tumbled Glass for my base color. I tried to fill most of my paper with this color, drying before adding new colors.


I didn't want to completely overpower the lighter color, so I used less ink the darker I got.


After popping up my fish, on my watery base and adding a sentiment, I added bubbles with Nuvo Drops and added distress ink around the edges. I like the definition this step adds.


The ink smooshing makes for a wow background in no time and a technique I pull out often. I even had time to do that fussy cutting!

Affiliate links (I do receive a small commission when you use my links, thank you!)